PLEASE NOTE: AS OF UPDATE 1.167 THAT HAPPENED ON 12/12/2019, THE RATE OF ATTRITION GAIN HAS CHANGED AND NO LONGER HAS A CAP. This article will be updated in time, but those two items are no longer valid anymore. Everything else still holds true.
When it comes to Guild Battlegrounds (GBG), attrition is the fact that will dictate when you have to put the brakes on and stop. While it’s true that there are some players out there who can deal with maximum attrition and just ignore it altogether, those players are the exception and not the rule. For the vast majority of us, attrition is our limiter and knowing your limits is important.
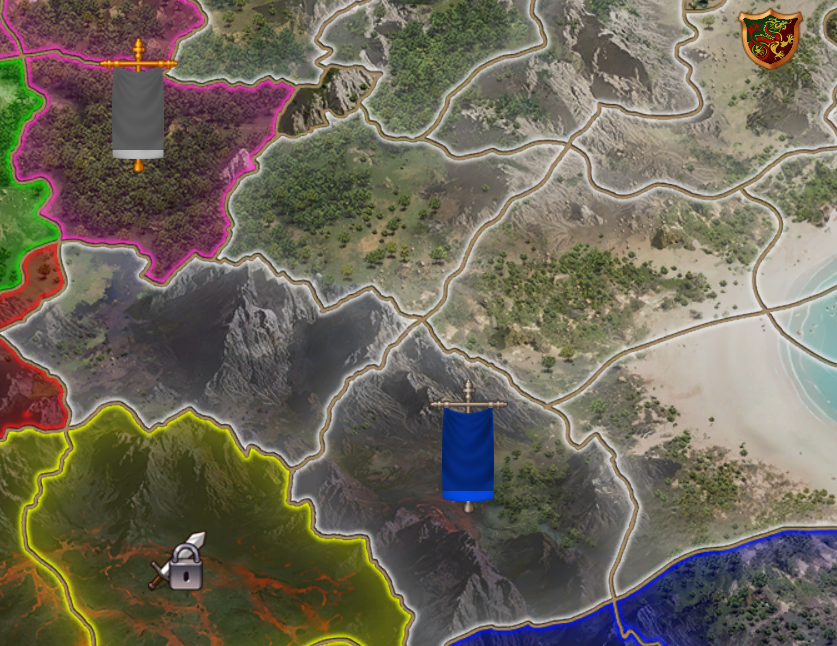
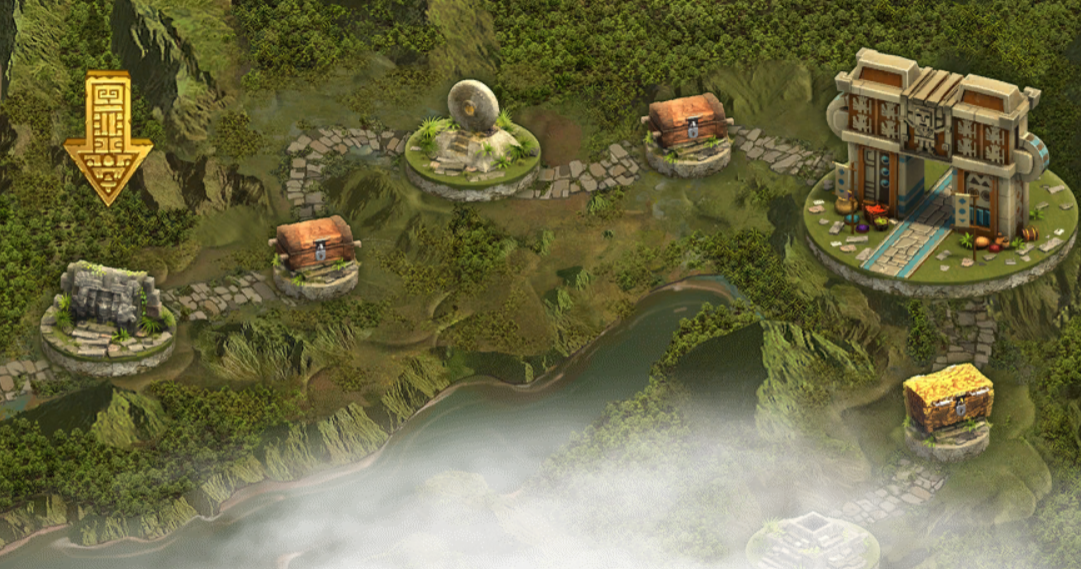
![]() As attrition rises it gets more costly to do things in GBG. Either you’re going to be facing stronger and stronger enemies (who seem to get a smarter AI as time goes on, but this is anecdotal at best), or it’s going to cost you more goods per attempted negotiation. If you like to fight and have a strong Alcatraz level, then chances are you’ll recover pretty readily from GBG. If you do a lot with goods and have a healthy inventory of them and like to negotiate, then you’re probably safe in GBG. However if you’re not careful you could still end up in trouble in either of those instances, and that means for anyone who isn’t strong in one or both of those areas they need to be extra careful. Know your limit, and then stick to it. Only push it if you think you have a strong chance of success. Especially since the troops you’ll be facing, or the number of different goods/resources you’re going to need (and type) are not going to change until you succeed. And even if you do a negotiation because the current troop match-up is too rough for you and succeed the negotiation, the troops will not have changed. Likewise, winning a battle doesn’t change the goods you need for the negotiation.
As attrition rises it gets more costly to do things in GBG. Either you’re going to be facing stronger and stronger enemies (who seem to get a smarter AI as time goes on, but this is anecdotal at best), or it’s going to cost you more goods per attempted negotiation. If you like to fight and have a strong Alcatraz level, then chances are you’ll recover pretty readily from GBG. If you do a lot with goods and have a healthy inventory of them and like to negotiate, then you’re probably safe in GBG. However if you’re not careful you could still end up in trouble in either of those instances, and that means for anyone who isn’t strong in one or both of those areas they need to be extra careful. Know your limit, and then stick to it. Only push it if you think you have a strong chance of success. Especially since the troops you’ll be facing, or the number of different goods/resources you’re going to need (and type) are not going to change until you succeed. And even if you do a negotiation because the current troop match-up is too rough for you and succeed the negotiation, the troops will not have changed. Likewise, winning a battle doesn’t change the goods you need for the negotiation.
Generally speaking, attrition will rise by 1 for each battle or negotiation you win. Most of the time you’ll probably find this to be the case because constructing buildings costs a lot of guild treasury resources and time, so guild leadership is going to be picky about what they put where, and when they build things. No one wants to spend a ton of resources to build a really awesome building, only to have the sector stolen before you can reap the benefits of said building after all.
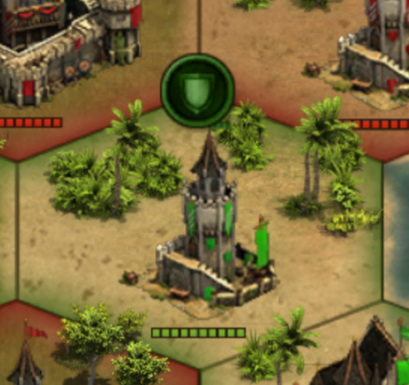
Speaking of buildings though, there are four to be aware of specifically in regards to attrition: Decoys, Traps, Watchtower, and Siege Camp.
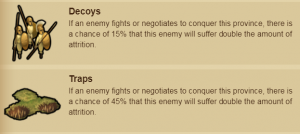 Decoys and Traps will both make it more costly on attrition for a guild to take a sector. Decoys take 500 treasury goods and 4hrs to build, and will make it so there’s a 15% chance that the guild attacking the sector will suffer double attrition for each win. This means for every 6-7 attacks, attrition will go up by 2 instead of by 1. Traps take 3000 treasury goods and 5hrs to build, and will make it so there’s a 45% chance that the guild attacking the sector will suffer double attrition for each win. This means for every 2 attacks approximately attrition will go up by 2 instead of 1. That’s huge!
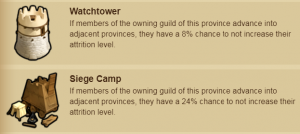 Watchtower and Siege Camp oppose Decoys and Traps, in that they help negate the rise of attrition. Watchtower takes 500 treasury goods and 1hr to build, and will make it so there’s an 8% chance the guild who owns this sector will not suffer attrition rising in any adjacent sectors they’re attacking. That means every 12-13 attacks they will suffer no attrition rise. Siege Camp takes 3000 treasury goods and 2hrs to build, and will make it so there’s a 24% chance the guild who owns this sector will not suffer attrition rising in any adjacent sectors they’re attacking. That means every 3-4 attacks they will suffer no attrition rise, which is awesome!
Even more impressive, or deadly, is that these buildings will stack (all buildings in GBG stack). So two traps on one sector (if building slots allow it) makes it so there’s a 90% chance for double attrition, ouch! Conversely, having two sectors each with a siege camp next to the same sector will mean the guild who owns them and is on the attack has a 48% chance to take no attrition on success, awesome! Paired together, two siege camps versus two traps, you’re looking at a 42% chance at double attrition (90-48=42). So not great, but it helps even the odds. The kicker here is that these really nice buildings cost so many treasury goods. What goods specifically will depend on the distribution of player eras in your guild, so you might have to really consider if it’s worth spending half of one good that you have to build any of these potentially. Especially since if the sector falls into another guild’s hands, there’s a 50% chance they get the building for free! The other 50% chance is that it will be outright destroyed. Either outcome is not favorable if you’re the builder, but it can be favorable if you’re stealing it. Plus, unlike in GvG where releasing something gets you treasury goods back, destroying a building (even one that is still in the progress of completing its build) yields no goods in return! So once you hit build, that’s it, the treasury goods are gone.
So how high can attrition get? Well, we have a handy table for that! Attrition levels currently go 0-100, 0 meaning you are fresh from the midnight server-time reset, and 100 meaning you’ve maxed out. 0 obviously means no attack boost and just 1 good per selection required for the negotiation so it’s not listed on the table. Max attrition at level 100 though is a 1740% att/def boost for the enemy (yikes!), and x20 multiplier on negotiations (expensive!).
| Attrition Level | Attack Penalty | Negotiation Multiplier |
|---|---|---|
| 1 | 2% | x1 |
| 2 | 4% | x1 |
| 3 | 6% | x1 |
| 4 | 8% | x1 |
| 5 | 10% | x1 |
| 6 | 15% | x2 |
| 7 | 20% | x2 |
| 8 | 25% | x2 |
| 9 | 30% | x2 |
| 10 | 35% | x2 |
| 11 | 40% | x2 |
| 12 | 45% | x2 |
| 13 | 50% | x2 |
| 14 | 60% | x3 |
| 15 | 70% | x3 |
| 16 | 80% | x3 |
| 17 | 90% | x3 |
| 18 | 100% | x3 |
| 19 | 120% | x4 |
| 20 | 140% | x4 |
| 21 | 160% | x4 |
| 22 | 180% | x4 |
| 23 | 200% | x4 |
| 24 | 220% | x5 |
| 25 | 240% | x5 |
| 26 | 260% | x5 |
| 27 | 280% | x5 |
| 28 | 300% | x5 |
| 29 | 320% | x6 |
| 30 | 340% | x6 |
| 31 | 360% | x6 |
| 32 | 380% | x6 |
| 33 | 400% | x6 |
| 34 | 420% | x7 |
| 35 | 440% | x7 |
| 36 | 460% | x7 |
| 37 | 480% | x7 |
| 38 | 500% | x7 |
| 39 | 520% | x8 |
| 40 | 540% | x8 |
| 41 | 560% | x8 |
| 42 | 580% | x8 |
| 43 | 600% | x8 |
| 44 | 620% | x9 |
| 45 | 640% | x9 |
| 46 | 660% | x9 |
| 47 | 680% | x9 |
| 48 | 700% | x9 |
| 49 | 720% | x10 |
| 50 | 740% | x10 |
| 51 | 760% | x10 |
| 52 | 780% | x10 |
| 53 | 800% | x10 |
| 54 | 820% | x11 |
| 55 | 840% | x11 |
| 56 | 860% | x11 |
| 57 | 880% | x11 |
| 58 | 900% | x11 |
| 59 | 920% | x12 |
| 60 | 940% | x12 |
| 61 | 960% | x12 |
| 62 | 980% | x12 |
| 63 | 1000% | x12 |
| 64 | 1020% | x12 |
| 65 | 1040% | x13 |
| 66 | 1060% | x13 |
| 67 | 1080% | x13 |
| 68 | 1100% | x13 |
| 69 | 1120% | x13 |
| 70 | 1140% | x14 |
| 71 | 1160% | x14 |
| 72 | 1180% | x14 |
| 73 | 1200% | x14 |
| 74 | 1220% | x14 |
| 75 | 1240% | x15 |
| 76 | 1260% | x15 |
| 77 | 1280% | x15 |
| 78 | 1300% | x15 |
| 79 | 1320% | x15 |
| 80 | 1340% | x16 |
| 81 | 1360% | x16 |
| 82 | 1380% | x16 |
| 83 | 1400% | x16 |
| 84 | 1420% | x16 |
| 85 | 1440% | x17 |
| 86 | 1460% | x17 |
| 87 | 1480% | x17 |
| 88 | 1500% | x17 |
| 89 | 1520% | x17 |
| 90 | 1540% | x18 |
| 91 | 1560% | x18 |
| 92 | 1580% | x18 |
| 93 | 1600% | x18 |
| 94 | 1620% | x18 |
| 95 | 1640% | x19 |
| 96 | 1660% | x19 |
| 97 | 1680% | x19 |
| 98 | 1700% | x19 |
| 99 | 1720% | x19 |
| 100 | 1740% | x20 |
That’s basically it. Keep an eye on your own hoard of goods, keep an eye on the treasury for the guild, make sure you don’t murder too many troops, and you’ll be golden. So get familiar with where you’re comfortable with attrition, be flexible as you grow to learn where it has expanded to, and don’t push your limits so much it leaves you short. Have fun, happy battling!

Trackbacks/Pingbacks